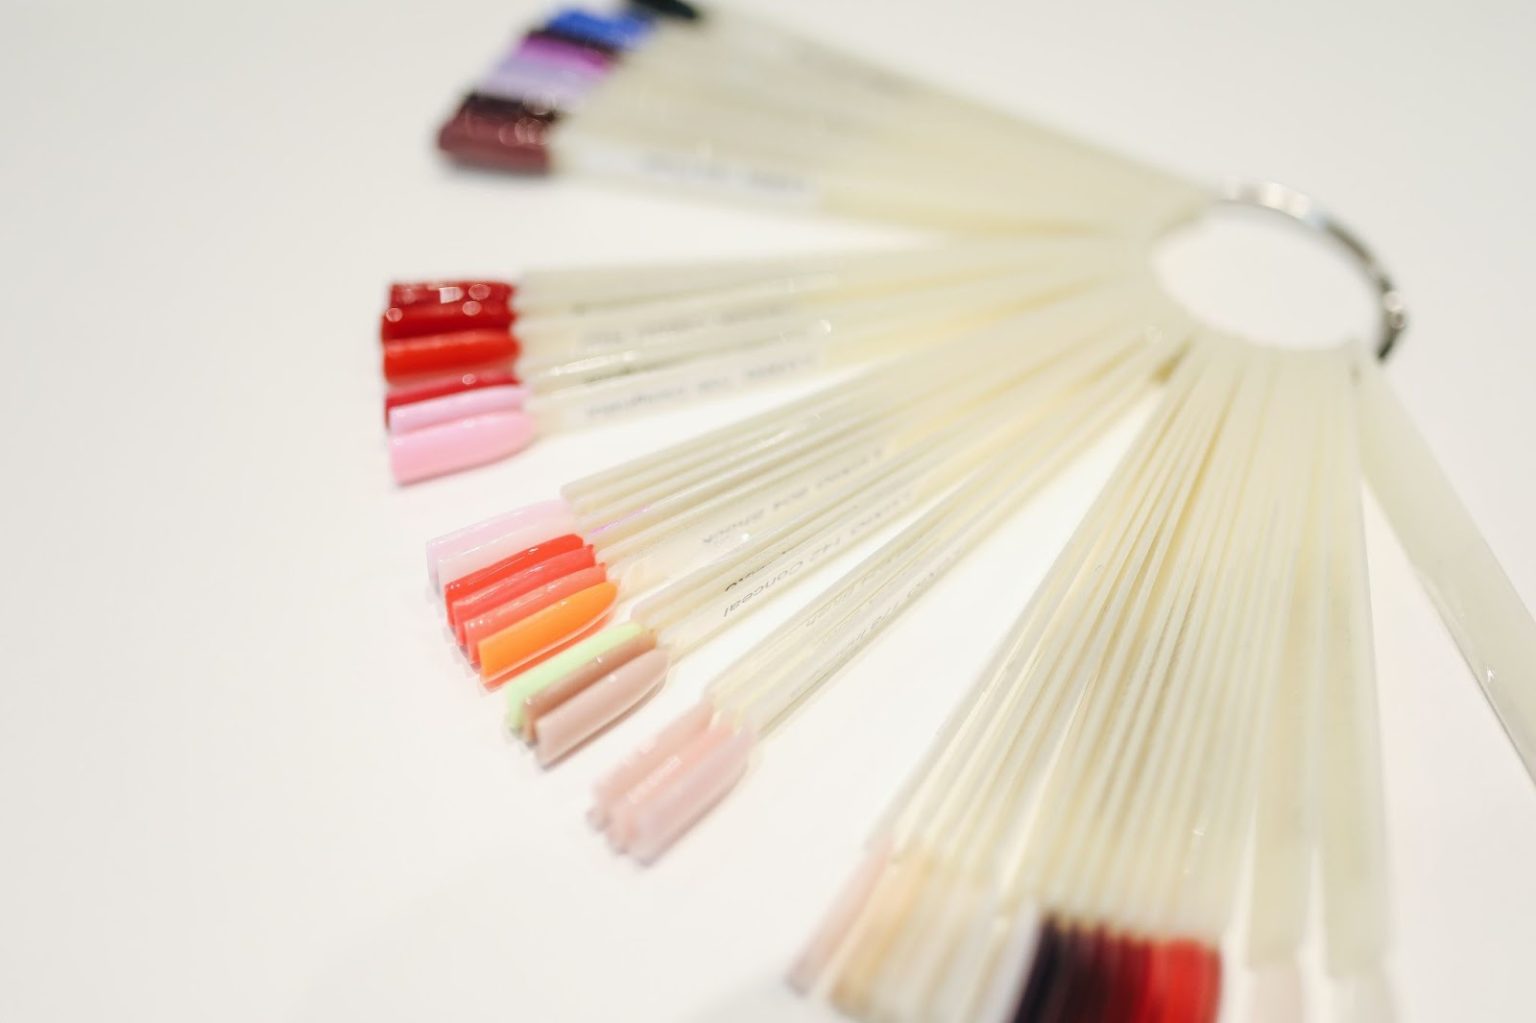
Ombre nails are not just a trend; they’re a full-fledged revolution in the nail art world. The word “ombre” hails from the French term meaning “shaded,” and it perfectly describes the gradual transition of colors that this technique involves. You might have seen these beautifully blended nails on your favorite celebrities, influencers, or even friends. But if you’ve been wondering how to achieve this look yourself, you’ve come to the right place.
This blog post will serve as your comprehensive step-by-step guide to mastering ombre nails at home.
1. Prepare Your Nail Canvas
Before you can let your creativity run wild, you need a clean, well-prepared canvas. Start by removing any old polish from your nails with a gentle nail polish remover. Next, shape your nails using a file, and push back your cuticles with a cuticle pusher. If you are using acrylic nails, this is also the time to prep them with Not Polish monomers to ensure a durable, long-lasting application.
Hygiene is paramount in this stage. Disinfect your nails and tools to make sure that you don’t develop any infections. Wipe your nails clean with an alcohol wipe and you’re ready to move on to the next step.
2. Apply Base Coat And Foundation Color
The next step in your ombre journey involves laying down a solid foundation. Apply a thin base coat to your nails; this not only helps your polish adhere better but also protects your natural nails from staining.
Once your base coat is dry, apply the lightest color you plan to use in your ombre design as a foundational layer. Two coats should do the trick, but make sure each coat is dry before applying the next one.
3. Get Your Sponge On
The magic of the ombre effect comes alive in this step. For this, you’ll need a makeup sponge.
Take your sponge and apply a straight line of your lightest color at the top. Directly beneath it, apply your next darkest color. Press the sponge onto a piece of paper to blend the colors slightly.
4. Stamping And Blending
Now, gently stamp the sponge onto your nail. You might need to do this a couple of times to get the desired blend. Don’t worry if it looks a little messy at this point; perfection comes with practice and the clean-up process.
If you’re unhappy with how it looks, you can always add more polish to the sponge and go over the nail again.
5. Clean Up Time
You’ll probably have some excess polish around your nails. Take a small brush dipped in acetone or nail polish remover to clean up the edges and achieve a professional-looking finish.
6. Seal The Deal
To ensure that your hard work doesn’t chip away, you’ll want to seal your design with a top coat. This adds a layer of protection and also gives your ombre nails a glossy, polished look. Wait for the design to completely dry before applying the top coat for best results.
7. Optional: Add Some Flair
If you’re feeling adventurous, this is the stage where you can add some extra flair to your nails. Think glitter, rhinestones, or even a little hand-painted design. A small detail can turn your ombre nails into a true work of art.
Conclusion
Achieving the perfect ombre nails may seem intimidating at first, especially if you’re new to nail art. But with patience, practice, and a bit of creativity, you’ll be rocking that gradient like a pro. Remember, the key to a successful ombre look is in the blending. So take your time and don’t rush through the steps.
Whether you’re prepping with monomers for acrylics, or simply applying polish on your natural nails, a little preparation goes a long way. Now that you’ve got the know-how, the only thing left to do is try it out for yourself!
