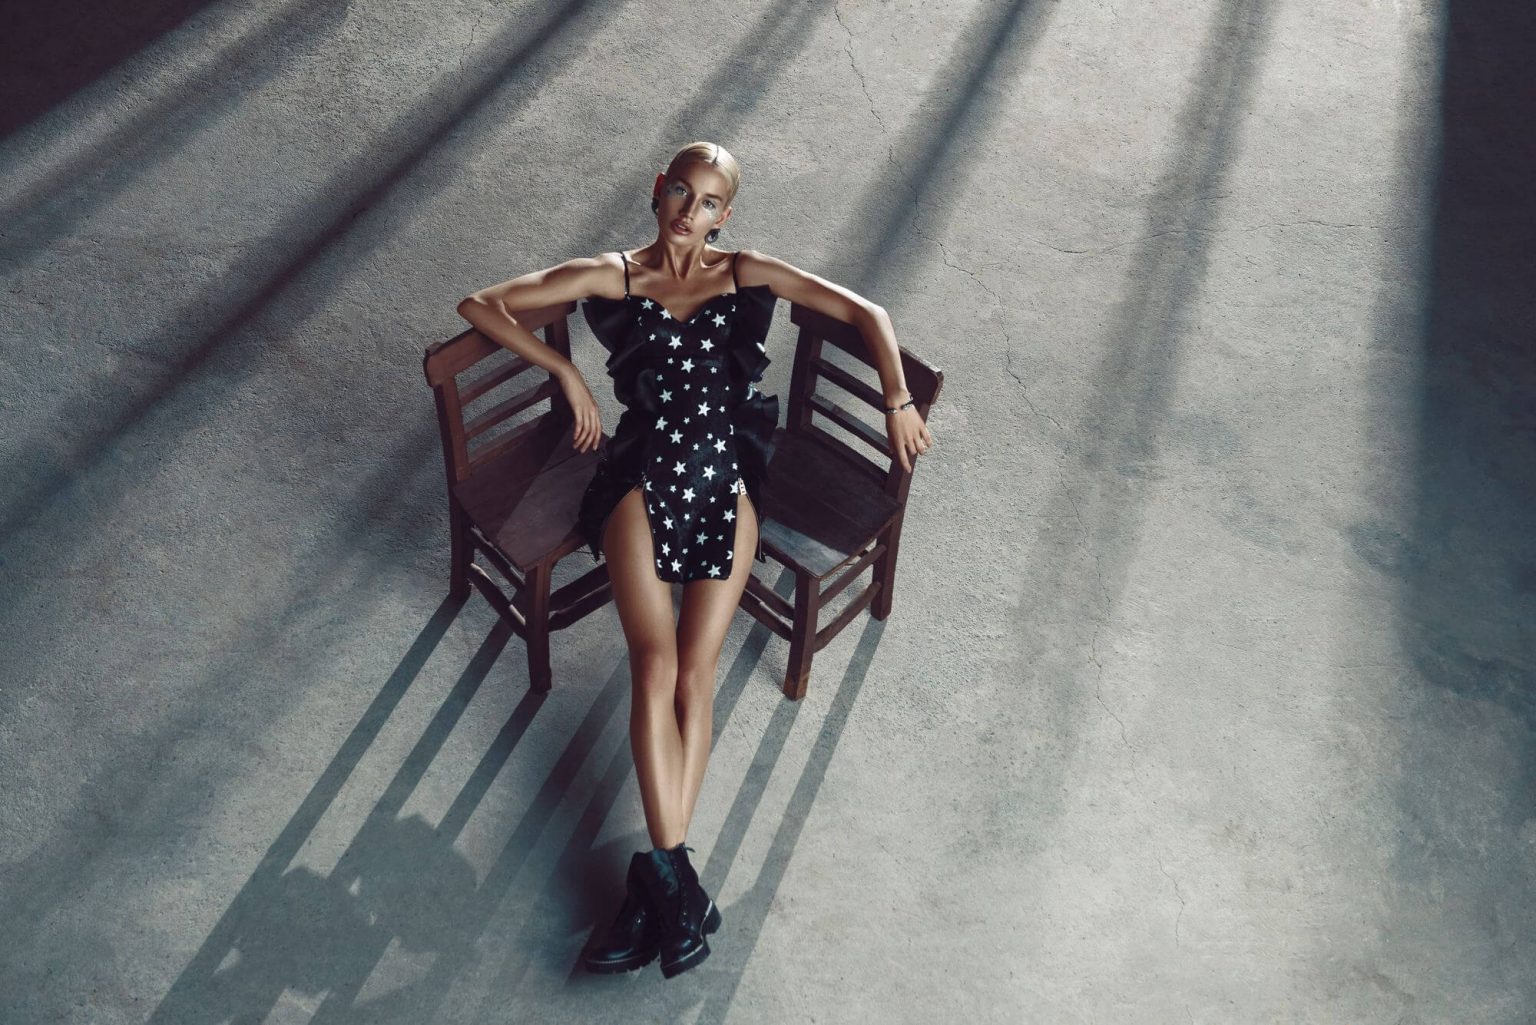
Fashion photography is a complicated process that requires a lot of practice and experience to be done well. However, with the right tools and resources, anyone can take good fashion photos! This blog article gives you five tips that will help your fashion photography.
Pre-Production:
1. Have a plan.
Before you even start snapping, make sure you have a plan. What are you trying to achieve? Is it a simple portrait of someone you know, or do you want to capture the essence of a fashion show? Figure out what you want before you even start shooting.
2. Use natural light whenever possible.
When shooting in natural light, be sure to use your surroundings to help supplement your shots. A beautiful window can provide beautiful light for an outdoor portrait, while an overhead light can add brightness to a model’s face in a studio setting.
3. Use props and accessories wisely.
Sometimes all it takes is a little extra help from your props and accessories to give your photos that extra pop. Use hairpins or flowers to hold back hair, and place sunglasses, hats or bags on models to add interest.
4. Take time to diagram your shots beforehand.
Not only will this help with organization and planning, but it will also give you some great ideas for compositions while on set. Sketch out rough ideas of where each shot should go and try not to repeat yourself too much – this will help keep your photos looking fresh and new.
Camera Gear
- Use a tripod for stability and better images.
- Use studio lighting kit. If you want to take your fashion photography to the next level, invest in some quality studio lighting. This will give your images a dramatic look that can really stand out.
- Avoid using harsh lighting when photographing people as it can make them look unnatural.
- Use a wide-angle lens when shooting fashion photos. This will give you more coverage of the clothing and make it look bigger on the page. You can also use a wide-angle lens to capture more background detail in your image.
- Shoot in RAW format. RAW format gives you more flexibility when editing your images, so you can achieve the exact look and feel you’re looking for in your photos.
- A SD card reader is handy for transferring images from the camera to your computer.
- Do not be afraid to use your flash, as it can add extra interest and depth to your photographs.
Find a Location
- If you’re new to fashion photography, start by finding a location that is comfortable and easy to work in. You can use a model’s home or a location you frequent often.
- Try to find a location with natural light as much as possible. Use window light, indirect lighting, or artificial light to create the right atmosphere.
- If you’re using professional equipment, make sure to get good shots of your models without distraction. Shoot from above or behind your models to capture their full body and face.
- Take plenty of photos – you’ll want to have at least 30 different shots for each outfit!
- Finally, be sure to take time to edit your photos – even if they don’t turn out perfectly the first time around, they’ll improve with time and practice.
Preparation of the Shoot
- Decide the purpose of your shoot. Is it for a blog post, an online gallery, or just to capture some fun memories? This will help determine what type of clothing and accessories you need to bring.
- Prepare your space. It’s important to have everything you need ready before starting your shoot. This includes props, paper backdrops, and even models if you’re using them.
- Choose the right clothes and accessories. Just like with any other photography project, choosing the right clothing is key for great fashion photography. Think about what kind of photo you want to create and then select pieces that will help you achieve that goal.
- Take photos as they happen. Don’t plan everything out in advance; let the photos take care of themselves and focus on capturing the moment. If something looks good in real life, chances are it will look good in a photo too!
- Edit later, if necessary. Once you’ve taken your photos, it’s time to edit them if necessary. Use software like Adobe Photoshop or Lightroom to make tweaks to color, brightness, and contrast until you’re happy with the results.
Editing
- Take your time when editing your photos. There is no need to rush – perfecting a photo takes time and effort, so make sure you take your time to get it just right.
- Use the correct tools for the job. If you’re editing photos for online use, using software like Photoshop or Lightroom is essential. But if you’re shooting for print, you might want to consider using a different program like GIMP or Aperture.
- Shoot in natural light as much as possible. If you can, try to avoid using harsh lighting that can make your subjects looks too harsh or unnatural. Try to shoot in natural light whenever possible, and use reflectors or umbrellas to add light where needed.
- Keep things simple. When it comes to editing your photos, simplicity is key – don’t try to overcomplicate things by adding lots of effects and filters. Just focus on making your photos look good without taking away from their original essence.
- Get creative with backgrounds. Sometimes all you need is a simple background to help set the mood for your photo shoot, while other times you can go all out and create a unique shoot full of character. Either way, a good background is key to making your photos look good.
